How to Winterize Kids Outdoor Toys?
Easy steps to clean-up, donate, store, and organize toys. Know how to winterize outdoor toys to be clean, safe, and ready to use again next year.
Why winterize your kids’ toys?
When summer is over, and it’s time to clean up, it’s essential to know how to winterize outdoor toys to be clean, safe, and ready to use again next year. If you’re starting to think about how to take care of all the outdoor toys your kids have accumulated, then check out the ideas below on how to clean, donate, store, and organize outdoor toys.
*Remember: Cleaning up and storing your summer outdoor toys for the winter doesn’t have to happen all in one day. Just like the days slowly get colder, you can slowly work your way through all of the toys a few at a time until they’re all clean and safely put away for next year.
What are the four easy steps to winterizing toys?
- Cleaning Kids Outdoor Toys
- Donating Gently Used Outdoor Toys
- Creating Storage: Garage or Shed
- Organize and Label
Cleaning Kids Outdoor Toys
When summer is coming to an end, it’s time to clean up for the colder seasons. Autumn is a great time to give all of your outdoor toys a deep cleaning and get them ready for next year.
What should you use to clean outdoor toys?
- Vinegar: In a large bucket, add 2 cups white vinegar to 2 gallons of warm water and add lemon juice to cut through some of the grime. Use a sponge and brush to clean the toys then rinse them off with the hose.
- Baking Soda: If something needs a deep clean, try making a paste with baking soda and water. It will not only take off most grime but will eliminate odors. Scrub the surface of the toy with the paste and rinse with the hose. Try the paste for outdoor toys such as bikes and scooters.
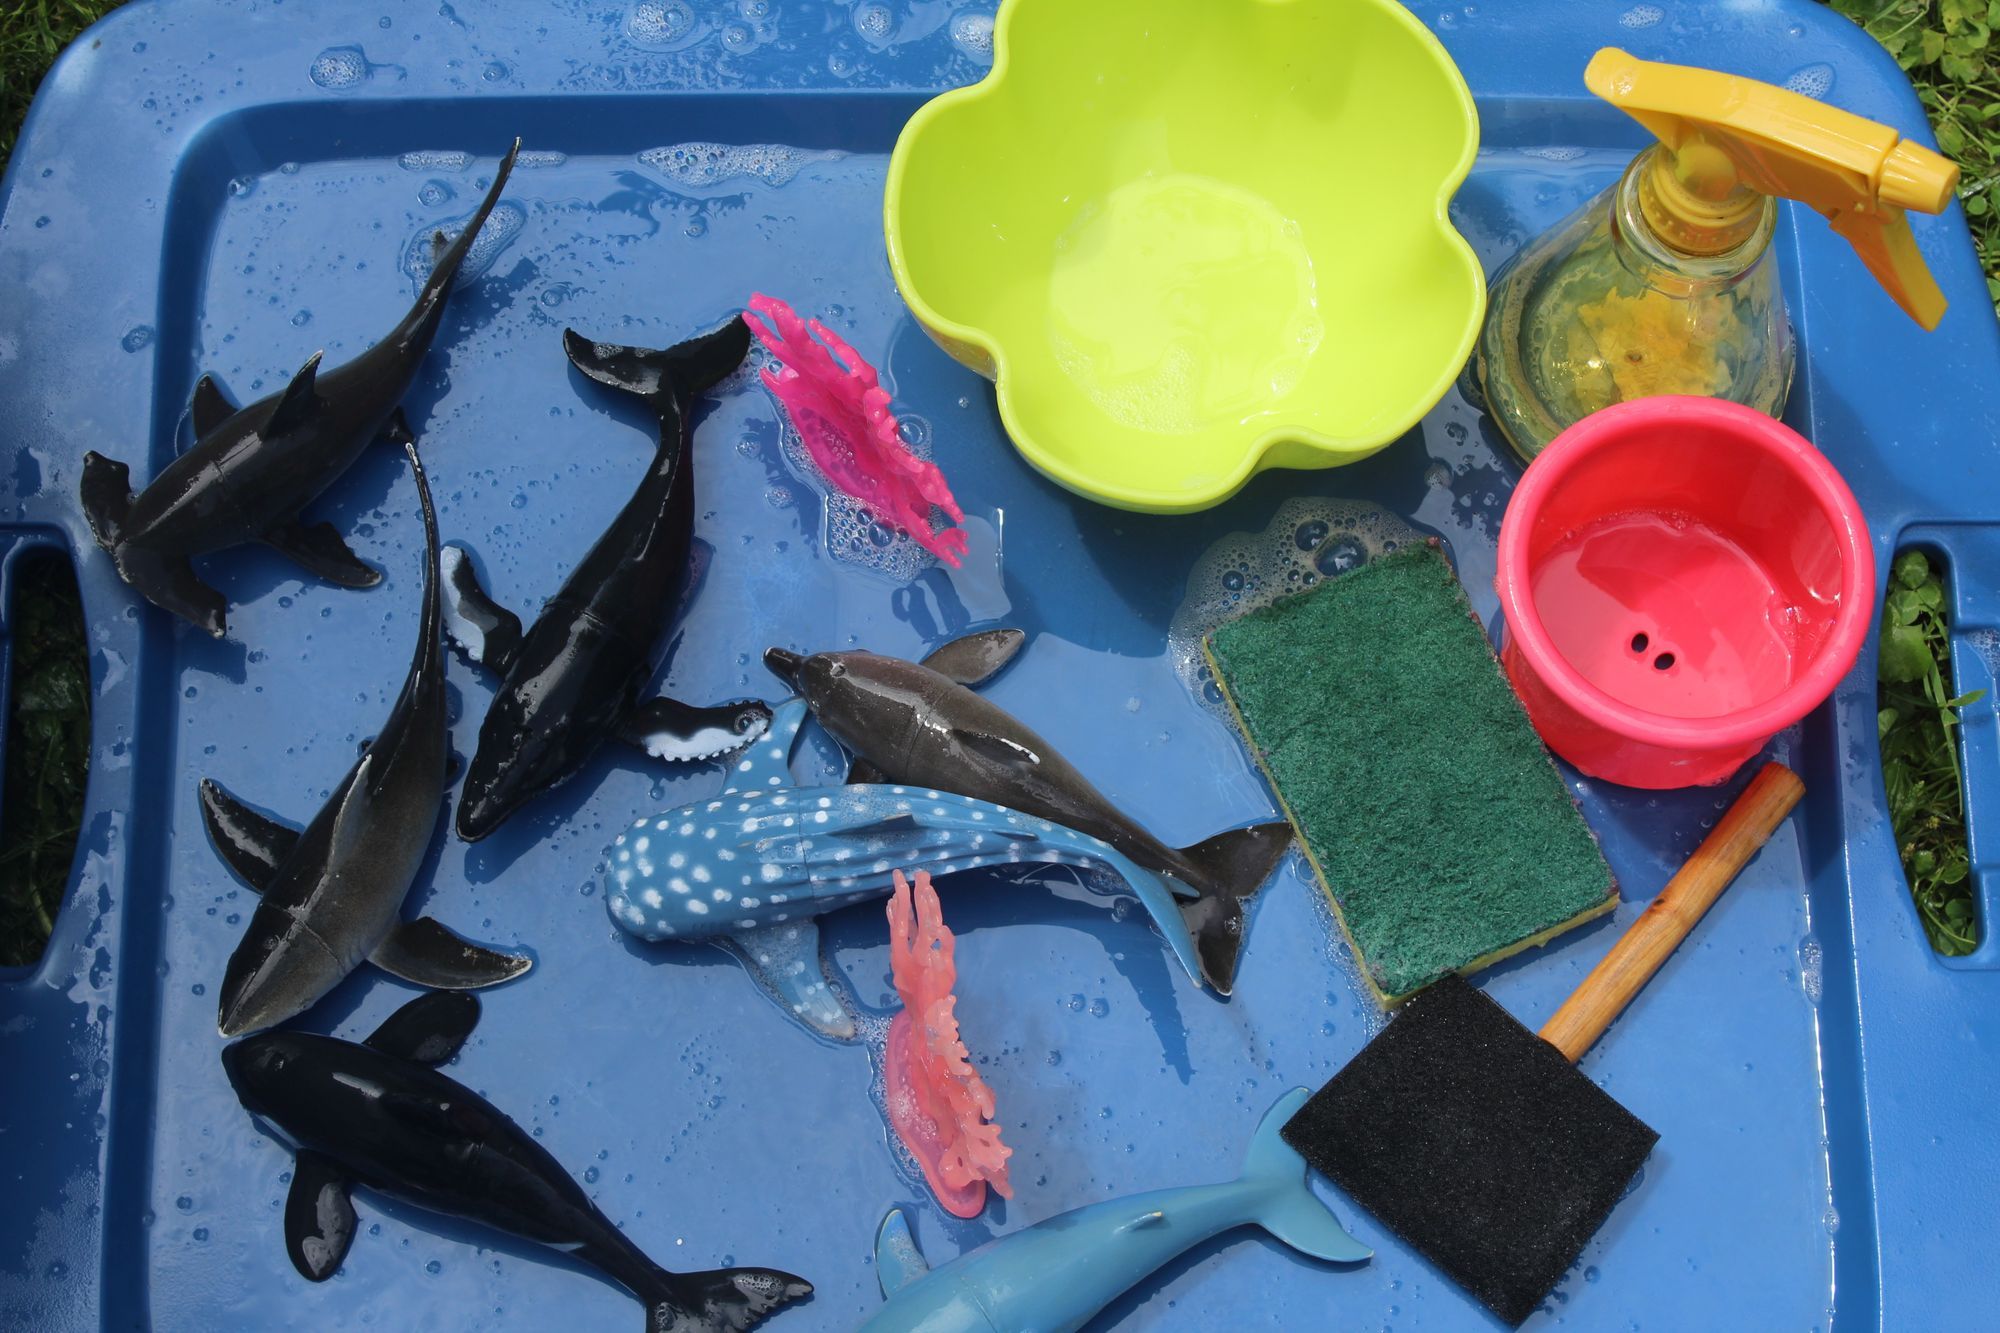
- Dish soap: Fill up the water table or kiddie pool with some water and soap, grab a sponge, and play. You may need to let the toys soak for a bit before scrubbing them. Rinse off with your hose.
- Dishwasher: Durable, small plastic toys can be out on the top rack of the dishwasher. Make sure to turn off the heat dry option before you start the load.
**Quick Tip: A few things to keep in mind when cleaning your outdoor toys are making sure that you’re not getting battery-operated toys wet and avoiding stickers. Outdoor toys like playhouses will have stickers; do your best to just quickly wipe down stickered toys that water will ruin with a barely damp washcloth.
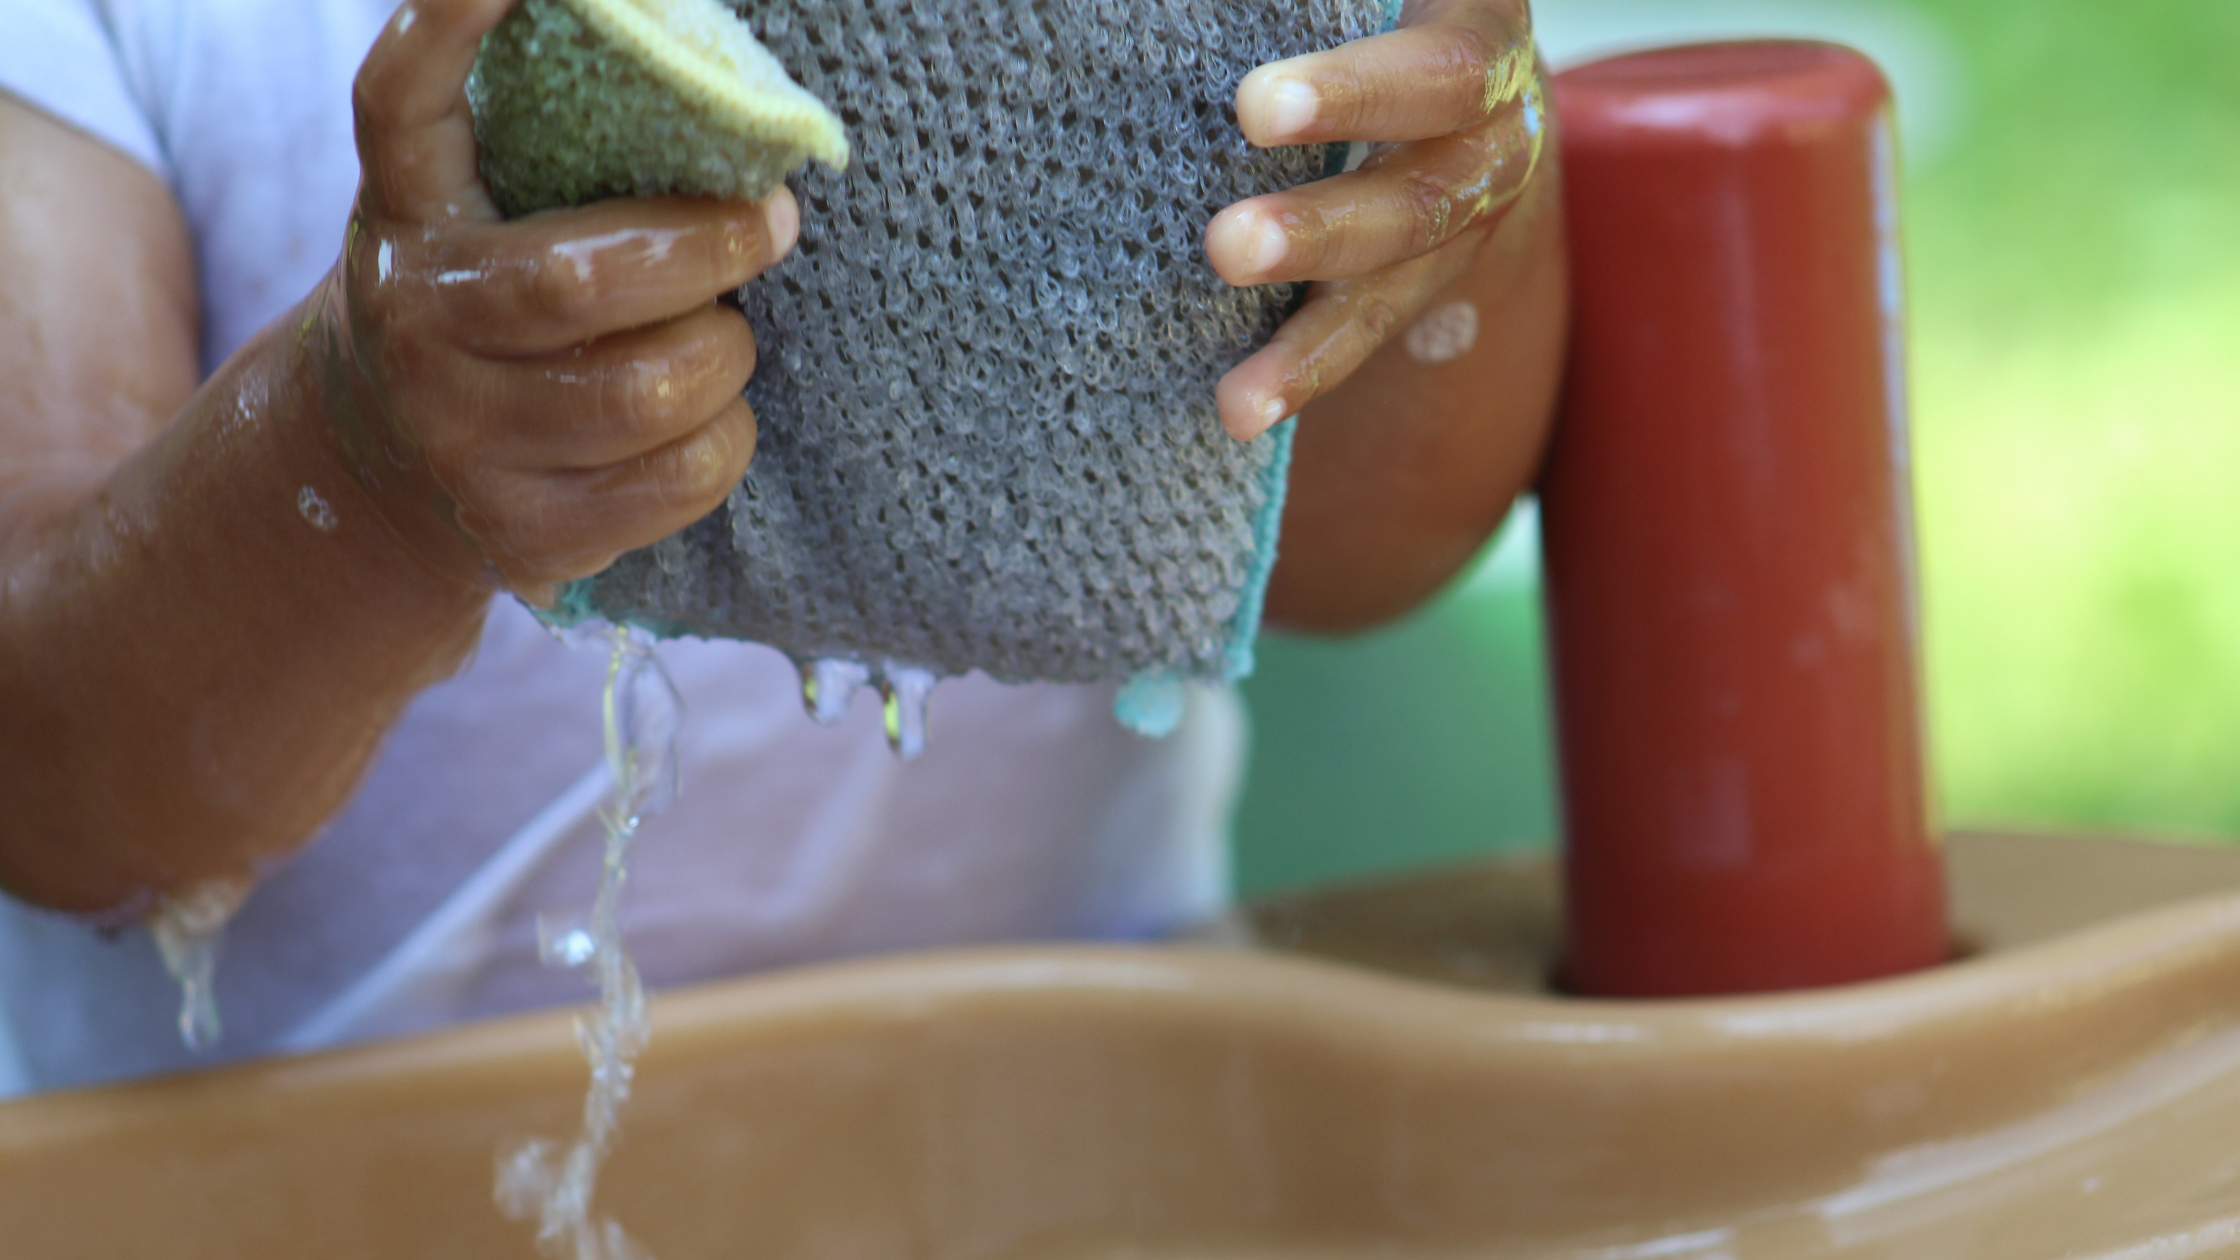
Getting the kids involved
Don’t forget to get the kids involved when it’s time to clean up the summer toys. They can be a part of the process, no matter how old they are. For example, younger kids may enjoy a pool or tub filled with their smaller toys to deep clean before storing. Have them try rinsing the toys with a spray bottle then placing them on a dry towel. Your older kids could create a pretend car/bike wash and even let them use the hose to rinse them down.
Additional tips to cleaning
- Clean and cover sandboxes. Remove any items still left and pick out all outdoor debris. Level the sand with a rake or hoe. Make sure they’re securely closed so nothing can get in. If using plywood, make sure it has an extra 2” on all sides with bricks securing it down.
- Ensure you allow everything to dry before storing them to end up with mold or mildew.
Donating Gently Used Toys
You may have heard of the famous phrase, “does it spark joy” from Marie Kondo. When we look at those toys that don’t get used, and while it can be tempting to keep them, sometimes it’s best just to let them go. If you found that there were certain toys that your children hardly touched all summer, it might be time to donate or re-gift them to someone else. Remember, toy donations are a way to bring happiness to other kids and tidy up your home.
What should you donate?
- Sort through all your outdoor toys and put similar items together into piles.
- Have your kids tell you what “sparks joy” for them and what they forgot about or have outgrown. Remember, only hold onto the toys they love.
- Let your kids know this will free up space and allow for new toys that could bring them joy next year.
Take your kids
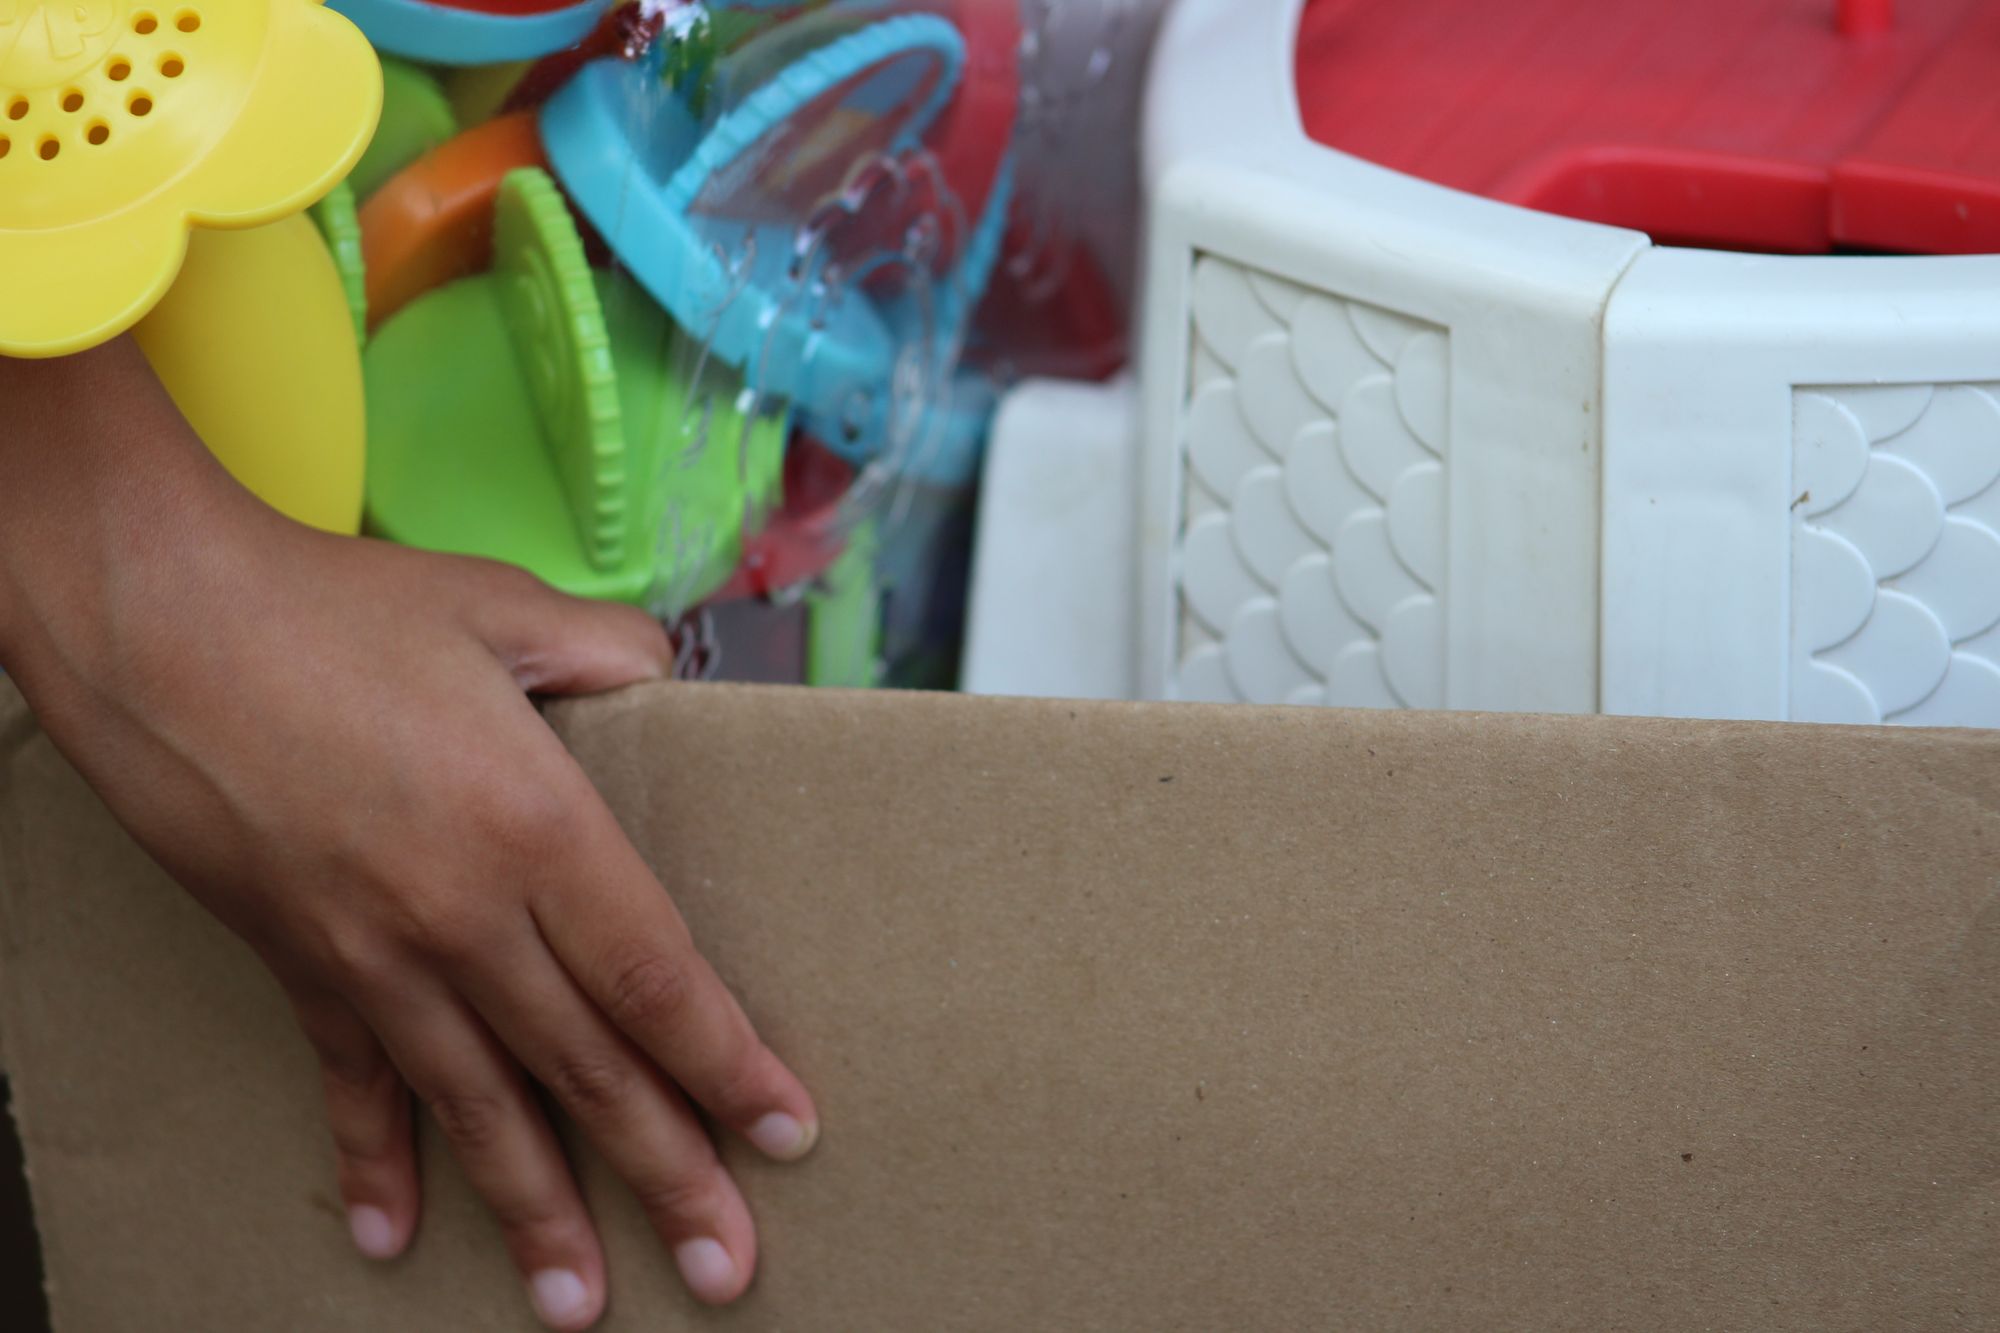
There are many different organizations that you can take your children’s gently used toys. Some places in your community that you can contact about toy donation include charities, hospitals, libraries, daycares, shelters, social services, and churches. Put all the items that will be donated into boxes, if you can keep them in groups of like things to help the donation organization. Allow your children to be a part of this process.
Creating Storage: Garage or Shed
When it comes time to store the toys for a few months, consider the space that you have available. It can be tempting to leave most of the toys outside, but if you want them to last year after year, it’s best to bring them in or shelter them somehow. Spending a bit of money for quality storage options can save you money and headaches in the long run. And the toys will be ready to go as soon as the weather gets warm again.
Garage Storage
If you have extra room in your garage for a few toys, this can be a great way to use the space that you have to store summer toys. Every toy needs to have a designated spot, and your kids should know where everything is kept and have access to helping put them away. The larger outdoor toys can just go on the shelves directly, while smaller toys can be put in bins to stay clean and organized. Create a storage system that will keep everything off the floor. The vertical space is your friend! Think about mounting bulky items ranging from kayaks to bikes. Look at various ideas on Pinterest, purchase a premade unit, or create your own.
Outdoor Storage Shed
You may already have a shed or have space to buy and place a small toy shed. A shed is an excellent option to store toys safely, but they aren’t utilizing the garage space that you might need for other storage purposes. Create a space for your children to take ownership of their items.
Bring Some Toys Inside
Some toys could quickly transition indoor for a change of pace. Such as, water tables could quickly become sensory tables, or add a small playhouse to your playroom for indoor fun. Consider what toys you might like to enjoy inside for a few months and even try asking your kids for their ideas!
Organize and Label
Organizing is a learning opportunity for kids of all ages. Any system created should be kid-friendly to encourage your children to help control their clutter. What makes a storage system easy for children?
Containers
Many containers have lids that make it hard to open and impossible to see inside. Look for stackable, open boxes/baskets that allow children to access toy storage. Ensure they are narrow enough to fit nicely against the edge of the garage walls or in a shelving unit.
How to Label
When creating labels, make sure you keep in mind if your child would be better suited for a picture display or word. You could always have a label with a combination of the two, which can be an additional way to promote early readers or suit multiple age groups.
Utilize Wall Space
You can utilize wall space in your garage or shed for oversized, bulky items like bikes and sports equipment. Most home improvement stores have large hooks that will allow you to hang heavy items up on the wall.
*Look for a future article showing an organized toy storage space in our garage.